If you’ve done much shirt painting in your life, you already know that there are many different techniques, from brush painting to finger painting. Each technique offers a different look to the finished creation. Combining different techniques opens up even more creative doors. One technique you might not have tried is the putty knife painting technique. With it, it you can create designs that are unique and interesting.
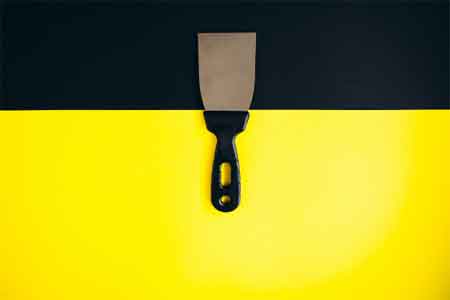
Putty knives, and similar implements, come in various widths and types. You can often find the tools at yard sales, flea markets, or at your local hardware store. The knives don’t have to be expensive or the best there is – cheap ones are okay.
Wide putty knives are great for spreading a splash of color across the front of a shirt, then using the colored area to create an area that will then become the focus of the shirt. Wait until it dries and use tube paints to add a saying in the color, or leave it wet and pat down a piece of fabric inside the colored area. Fabric samples can be cut into any number of shapes that can be easily attached to shirts.
Narrow putty knives are great for making wide stripes – vertical or horizontal – on a shirt. Measure and mark the desired stripes or paint them on freehand – with the putty knife. Dip the putty knife in the paint, wiping the back side off, and place the knife on the shirt. Pull the knife downward to create the stripe – even if the stripes will be horizontal. Turn the shirt to where you can maneuver in this manner. Pull the putty knife down until the stripe is completed. You may have to dip the knife more than once.
Putty knives can be used to create very thin lines, too. Instead of pulling the scraper or knife downward to create a wide stripe, you’ll use the very thin edge of the knife to touch the shirt and create thin stripes, click here for more info.
You can make so many other designs with the putty knives, too. Place the knife – with paint – on the shirt, standing the thin edge of the knife up, then slowly turn the knife to create unusual-looking circles. Create half circles and similar designs by stopping at different phases of the circle. Use this basic shape to create little fans by painting a thin line – with the edge of the knife – under a half circle. Use the knife’s edge once again to paint fold marks on the fan.

Make simplistic geometric shapes using the knife. Create pyramids, box shapes, diamond shapes and more, using nothing but a putty knife. Color them in with paint, attach fabric to the shapes, or just create the basic shape.
Make unique lettering and numbers with the putty knives. It’s best to draw the digits on the shirt with chalk or pencil and then go over them with the putty knife and paint. When drawing them freehand there’s a tendency to misjudge spacing.
Use the knives to create rainbows, swatches, diagonal stripes, tic-tac-toe designs, stripes around hems, chicken scratches, check patterns, and more. Don’t have any putty knives? An old credit card will give you similar results. As a matter of fact, look around and find other hard plastic items you can use like a putty knife. You’ll enjoy the craft and no one else will have a shirt like yours!