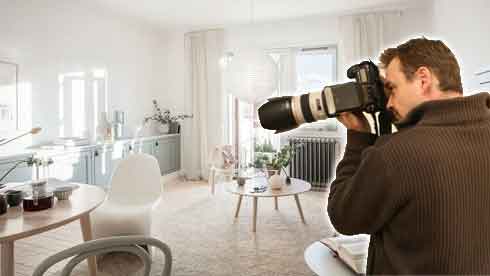
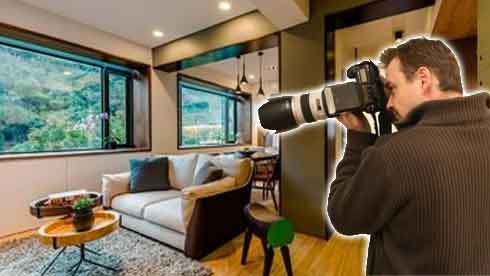
Interior photography can be challenging, especially if you want to create magazine-worthy photos. But with a little bit of preparation, anyone can create beautiful, professional looking photos.
Choosing the right gear and lighting, preparing your space for shooting, and following these simple tips can all make the difference in creating magazine-worthy photos.
Focus on the Details

When shooting interior photography, the details matter more than any other aspect. Whether you’re photographing a home or business, you want to capture the design and style in a way that will make viewers want to see more.
In order to accomplish this, focus on getting close-ups of specific elements in the room. A macro lens is great for this, but you can also use a regular lens. Just be careful about using a lens that is too wide, as this can cause distortion and add to your post-processing time.
Additionally, pay attention to the lines in your shot. It’s important that they are straight, as this will keep the space looking balanced and prevent you from having to do a lot of distortion correction in post-production. Many cameras have a built-in level function, and many tripods include bubble levels that can help with this as well. This will make your photos look crisper and more professional.
Style Objects
Interior photography requires careful styling – and not just for the people in the photo. Everything from the condition of furniture to the position of plants and accessories is important when capturing an interior scene. Even the smallest detail, like a wrinkled blanket or trash can poking out from under a table, can detract from the overall look of a shot. It is also a good idea to do a walk-around of the space before taking any shots, and to check that all objects are in their best condition.
Another essential tip for interior photography is to choose the right lens for the job. For example, a lens that is too wide will result in distorted straight lines and may require more time spent on post-processing. A lens in the 16-24mm range is ideal for most interior shots. A prime lens is preferable as it offers more clarity than a zoom. If the space is large enough, consider bracketing shots at varying exposures to create an HDR effect in post-production.
Shoot in RAW
Interior photography is detail-oriented and requires a lot of time to create the eye-catching images that clients want. This is why interior photographers demand higher rates for their services.
The best interior cameras are full frame digital SLRs with a high dynamic range. This helps to capture the details in contrasting light situations and minimizes noise.
Shooting in RAW is also important for interiors to give you the ability to recover details that may get lost in a high ISO setting. A good rule of thumb is to use a low ISO between 200 and 400 for interiors.
If you are using natural light with a large shadow cast from overhead lights, try using a reflector to bounce the light into a more desirable direction. This is a great way to shape the light in any room.
Shoot Too Wide

If you want to capture that swoon-worthy, magazine-esque look for your interior photography, make sure all of the elements are in place. That means that everything needs to be clean and neat, from the pristine counter-top marble to that custom alcove with one stunning sculpture in it.
It’s also important to avoid shooting too wide when you’re photographing interiors. A wider-angle lens can lead to distortion, which is a big no-no when it comes to real estate or interior design photos. Instead, opt for a slightly longer focal length, such as a 50mm lens if you’re interested in taking detail shots.
Conclusion:
Another tip is to make sure your camera is always level when you’re shooting interiors. If your vertical lines are off-kilter, it’ll distract viewers and ruin the overall composition. If possible, use a tripod to help with this. Otherwise, many editing programs have built-in tools to fix this automatically.